

Dental Link is installed together with CEDU QScan and CEDU OScan in the form of an installation
package.
① Run CEDU QScan.exe。
② Select the installation language.

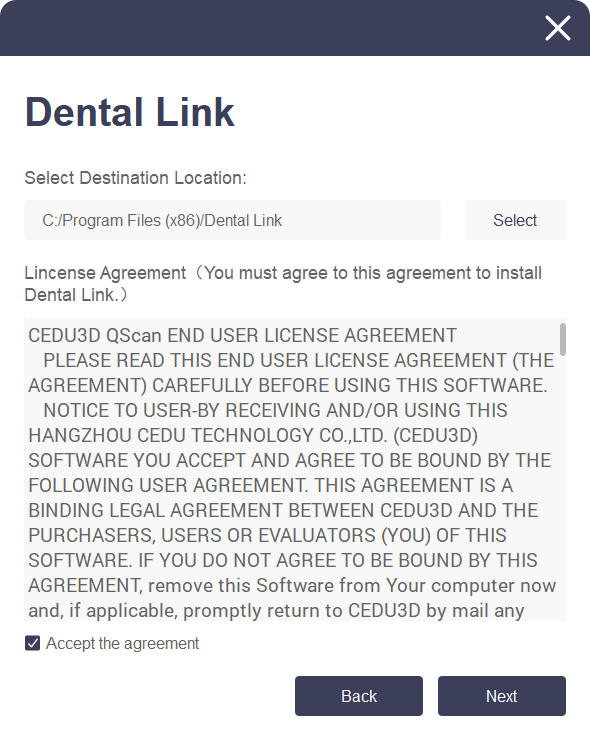
③ Carefully read the “License Terms and Conditions” and check the “Agree to License Terms and Conditions” box. Click “Next” to proceed with the installation.
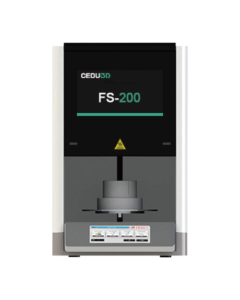
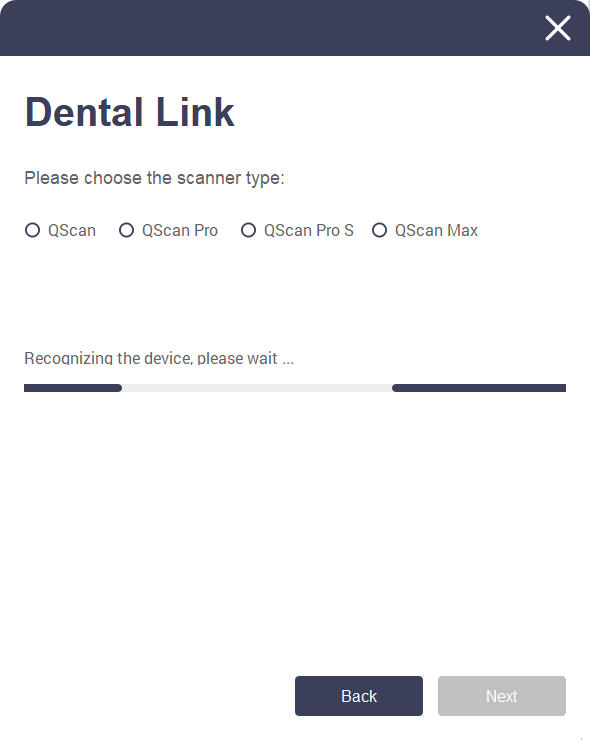
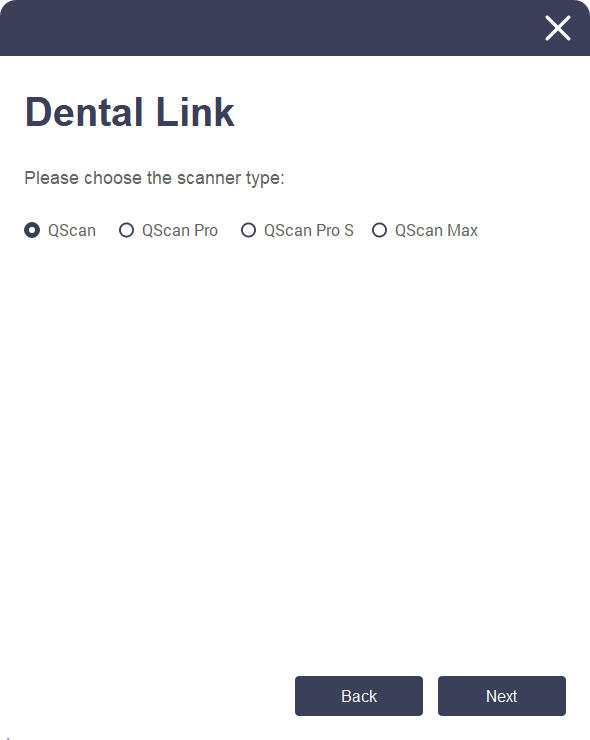
④ The software will automatically identify the model when the device is turned on.
⑤ After identifying the model, please click “Next” to install.
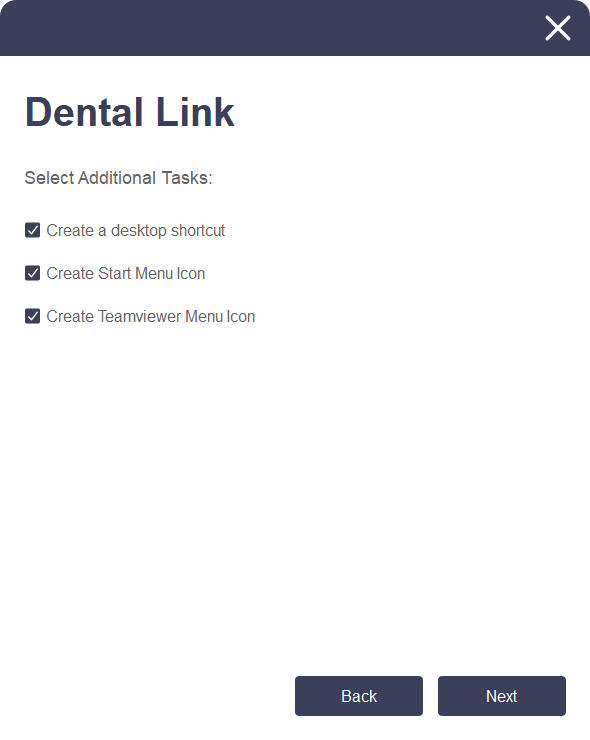
⑥ Select Create desktop shortcut and start menu icon and click Next.
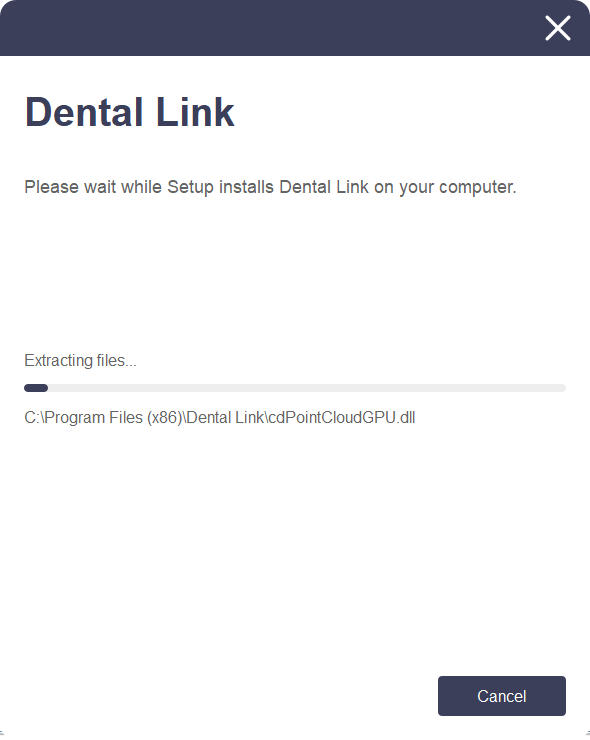
⑦ From this step onward, the installation will proceed automatically and may take a few
minutes. Do not turn off your computer until the installation is complete.
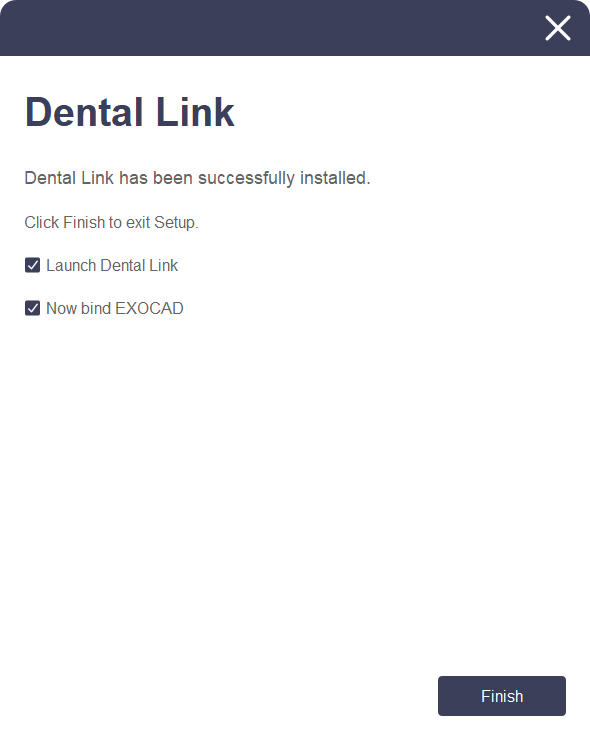
⑧ Click “Finish” to complete the installation. You can bind the EXO program through Dental Link.
If you do not want to bind, you can uncheck it and click “Finish” to complete the installation.
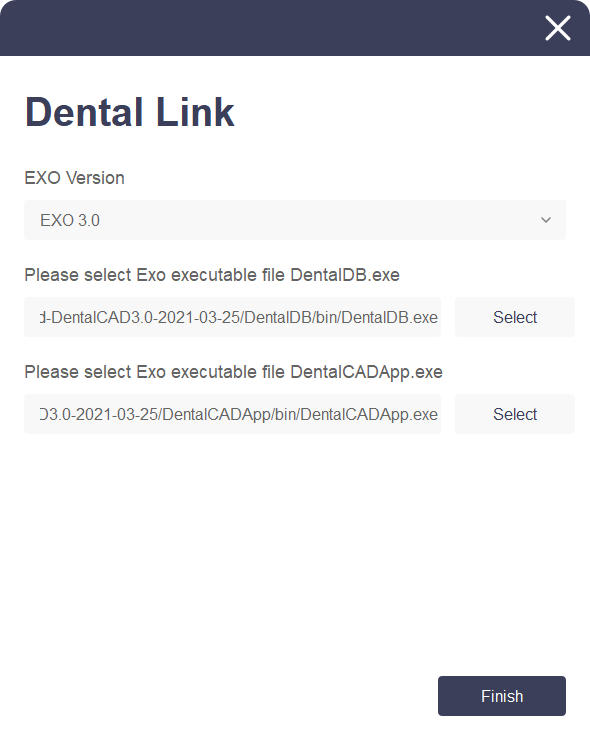
⑨ Click “Browse” to bind the EXO program version and exe file, and click “Finish” to complete
the binding.
⑩ Click Finish to complete the installation.

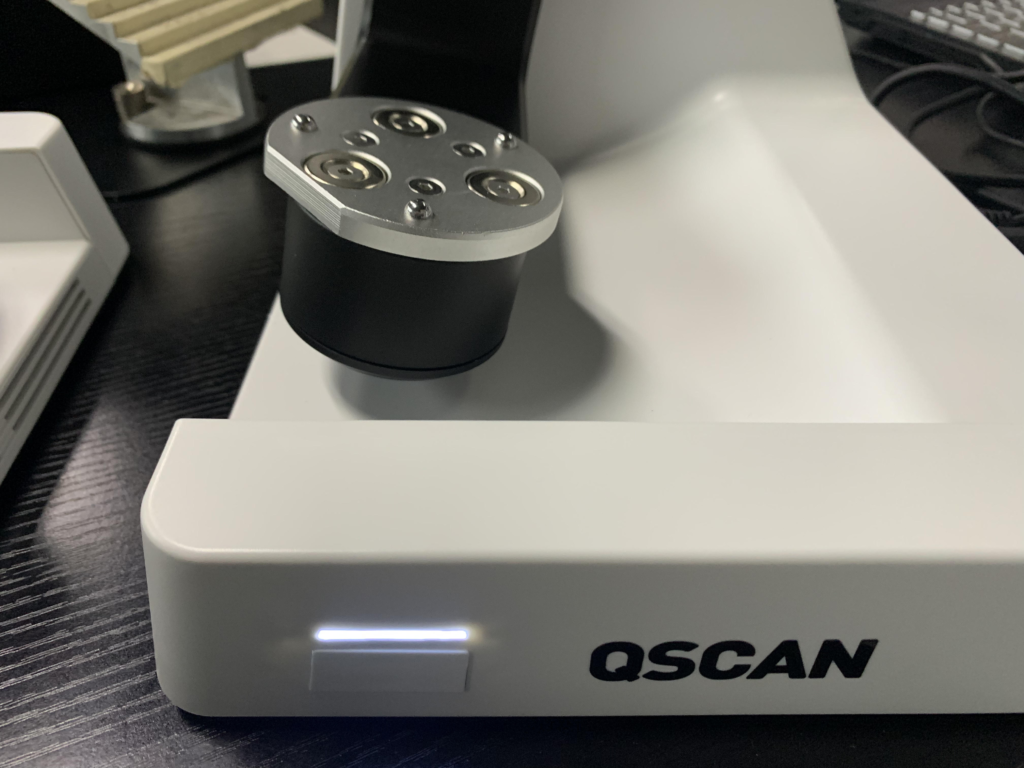
Hardware installation
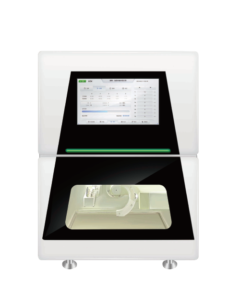
How to connect the scanner:
After completing software installation and restarting your computer, proceed with hardware setup.

Warning: Ensure proper connection of scanner cables to the computer.
(Package includes one power cable and one USB cable)
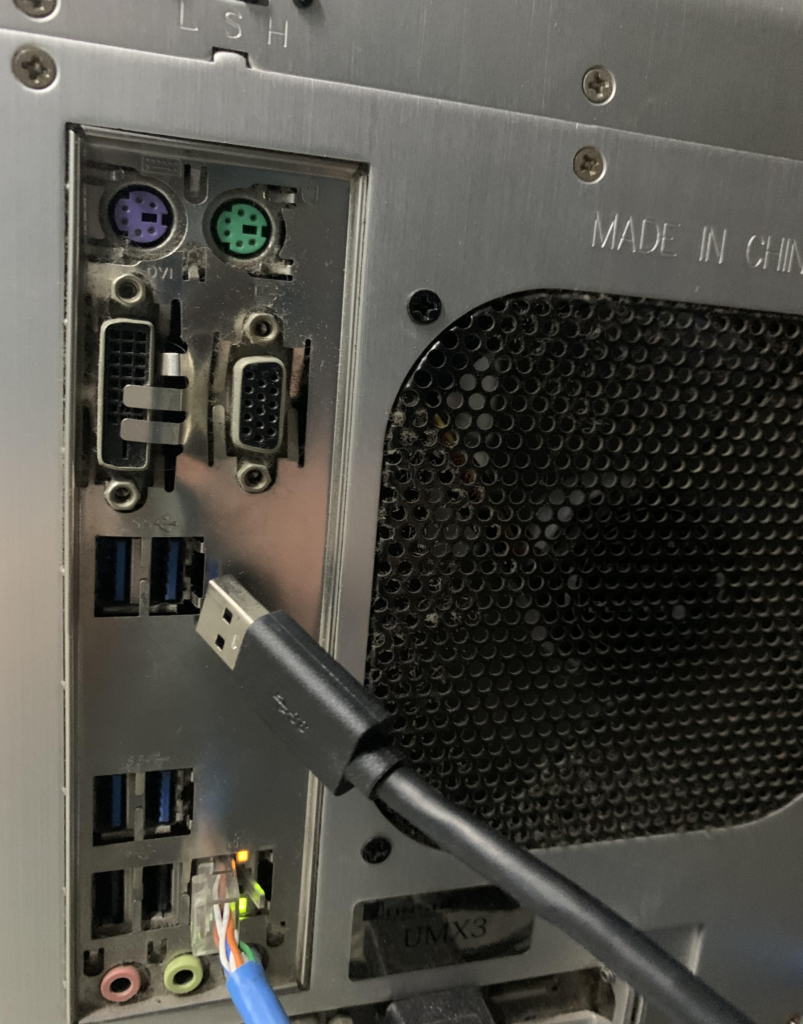
*Always use a USB 3.0 port when connecting the scanner to your computer.
① Connect the power cable

② Connect the USB cable via USB 3.0 (blue) port (Critical)
③ Turn on the switch located on the side panel of the QScan scanner