






A digital dental workflow connects case intake, scanning, CAD/CAM design, manufacturing, quality control, and delivery in one repeatable process. For dental laboratories, the goal is not simply to add more equipment. It is to reduce avoidable handoffs, make case information easier to track, and produce consistent results as case volume grows.
What is a digital dental workflow?
A digital dental workflow is the connected path a case follows from the first clinical record or laboratory scan to the finished restoration or appliance. It can include digital impressions, desktop scanning, design software, milling, 3D printing, finishing, and documented quality checks. A strong workflow gives every team member the information needed at the right stage, without repeated data entry or unclear handoffs.
1. Map every case from intake to delivery
Start by mapping a typical case before changing equipment or software. Identify where the case enters the lab, who reviews it, what data is required, and where delays or remakes most often begin. This reveals the first bottleneck worth solving.
- Record a single case ID from intake through delivery.
- Confirm the prescription, material, shade, indication, and delivery date before design starts.
- Define who approves complex cases and how questions are returned to the clinic.
- Document where a case changes hands between scanning, design, production, and finishing.
2. Capture reliable digital data
Accurate scan data is the foundation of a connected dental lab workflow. A desktop scanner should fit the lab’s typical case volume, model range, and required level of detail. When clinics send complete digital impressions, the lab can begin design sooner and reduce manual handling.
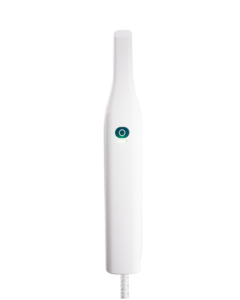
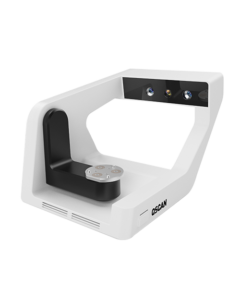
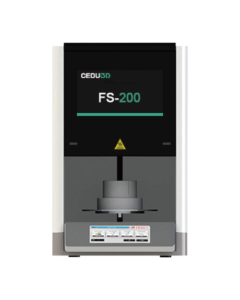
For laboratory capture, the QScan desktop dental scanner supports the scanning stage of a digital workflow. For clinics that send scans directly to the lab, the OScan intraoral scanner can support a more direct digital-impression handoff. Establish a simple scan review step before design so incomplete margins, missing bite data, or unclear case notes are caught early.
3. Standardize CAD/CAM design and communication
Many delays in a CAD/CAM dental laboratory workflow are caused by unclear communication, not machine capacity. Standardize file naming, case notes, design templates, approval steps, and revision requests. This gives designers a consistent starting point and makes it easier to trace a decision after a case has moved into production.
- Use a shared naming convention for patients, cases, and design versions.
- Keep material, shade, and indication requirements in one place.
- Set review points for complex restorations before manufacturing begins.
- Record revision reasons so recurring issues can be corrected in the workflow.
4. Plan milling and 3D printing by indication
Milling and dental 3D printing are complementary rather than interchangeable. Milling is commonly used for restorative materials and production requirements that call for a subtractive workflow. Dental 3D printing can support models, surgical guides, provisional workflows, and other applications when the material and process have been validated for the intended use.
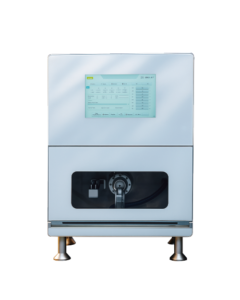
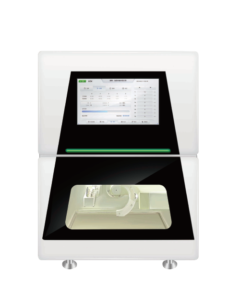
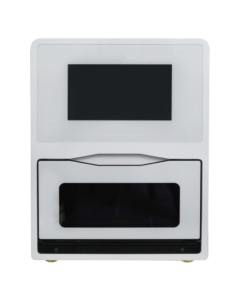
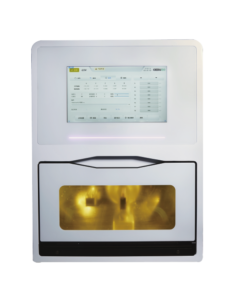
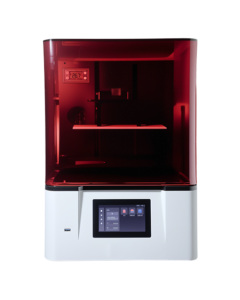
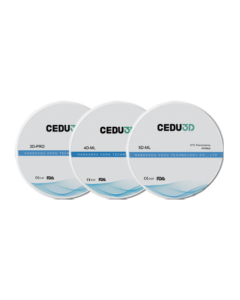
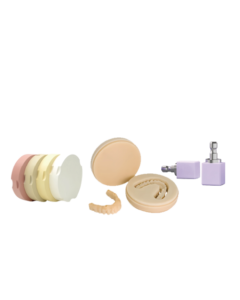
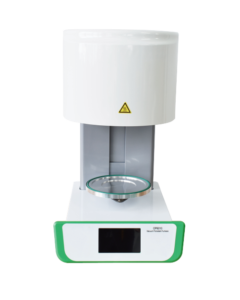
Review the indications, materials, daily volume, and turnaround targets you expect to handle in-house. The MW6 wet and dry milling system, CEDU dental 3D printer, and zirconia blocks should be evaluated as connected parts of a production workflow, not as isolated purchases.
5. Build visible quality-control checkpoints
Digital dentistry does not eliminate quality control. It makes quality checks easier to define and repeat. Set inspection points after scanning, after design approval, after manufacturing, and before delivery. At each point, record what must be confirmed and who is responsible.
- Verify scan completeness and usable margin data before design.
- Confirm design approval, material selection, and indication before production.
- Inspect fit, contacts, occlusion, surface quality, and case identification before delivery.
- Document remakes and adjustments so the root cause can be reviewed with the team.
6. Track workflow KPIs before adding equipment
Start with a measurable improvement goal. Useful indicators include case acceptance time, turnaround time, remake rate, number of manual transfers, and percentage of production completed in-house. Review results after each workflow change, then add the next capability only when it supports a proven need.
常见问题解答
Which equipment should a dental lab add first?
Start with the stage that creates the greatest delay or uncertainty. For some labs this is reliable scanning and data intake; for others it is production capacity or clearer quality-control checkpoints. A workflow review should guide the first investment.
Can a lab add scanning, milling, and printing at the same time?
It is possible, but implementation is easier when the team standardizes one process at a time. Begin with clear case intake and design communication, then expand production capability as workload and training requirements become clear.
How can a lab reduce remakes in a digital workflow?
Use consistent intake requirements, review scan quality before design, document approvals, and record remake causes. This helps the team identify whether an issue began with case data, design communication, material selection, manufacturing, or finishing.
Explore CEDU’s 实验室解决方案 for connected workflow options, visit the Resource Center for product resources, or contact CEDU to discuss a digital dental workflow for your laboratory.